Preheat your oven to 350°F (175°C) and line a baking sheet with parchment paper.
In a large mixing bowl, beat the softened butter and granulated sugar together until the mixture is light, fluffy, and pale, about 2-3 minutes. This creates a creamy base for your cookies.
Stir in the vanilla extract until fully incorporated, then gradually add the all-purpose flour and almond meal. Mix until a soft, cohesive dough forms.
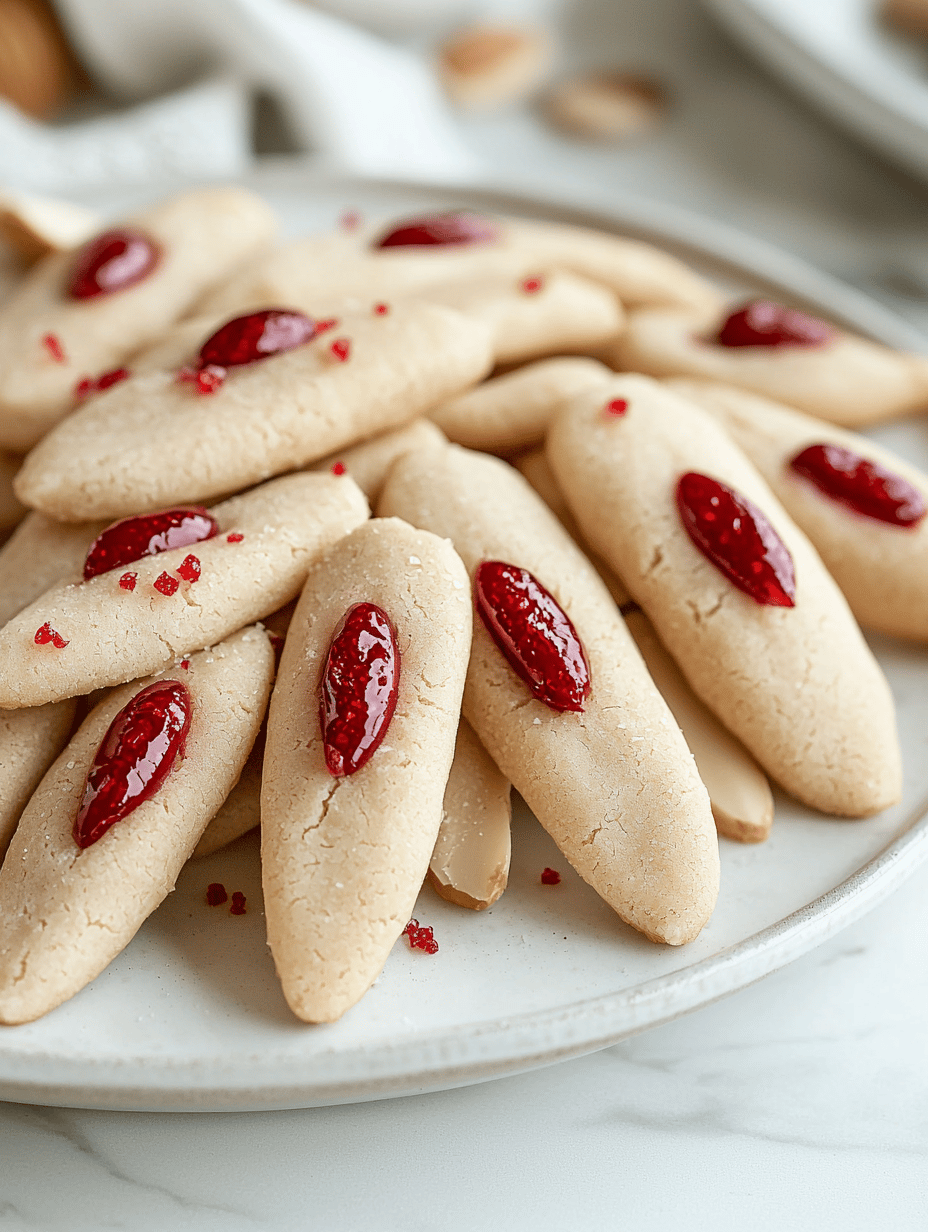
Divide the dough into 12 equal portions and roll each into a slender, finger-like shape about 4 inches long. Slightly taper the ends to resemble knuckles and skin wrinkles.
Place the shaped cookies onto the prepared baking sheet, spacing them out to allow for slight spreading.
Bake the cookies in the preheated oven for about 12-15 minutes, or until they are lightly golden and slightly cracked to resemble wrinkled skin.
Allow the cookies to cool on the baking sheet for a few minutes before transferring to a wire rack to cool completely.
In a small bowl, mix the powdered sugar with a few drops of red food coloring to create a dusty, blood-like hue. Lightly dust the cooled cookies with this mixture for a spooky effect.
Pick up one cookie and gently press a whole almond in the middle of the top to resemble a fingernail, pressing it in firmly but naturally.
Optionally, use a bit of the red dust or a little red food coloring directly to add tiny 'scars' or 'wrinkles' around the knuckles for extra realism.
Once all the nails are attached and details added, your Witch Finger Cookies are ready to serve—perfectly creepy and whimsically delicious for Halloween! Enjoy their crumbly texture and spooky appearance.