Ingredients
Equipment
Method
- Preheat your oven to 180°C (350°F) and line a baking sheet with parchment paper.
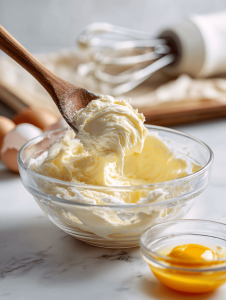
- In a large mixing bowl, beat the softened butter and sugar together using a hand or stand mixer until the mixture is light, fluffy, and fragrant, about 2 minutes.

- Add the egg and vanilla extract to the wet mixture and beat until well combined, ensuring the mixture is smooth and slightly glossy.
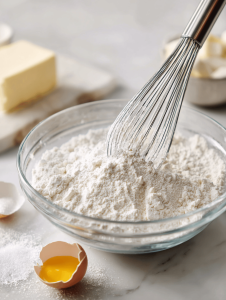
- In a separate bowl, whisk together the flour, baking soda, and salt to evenly distribute the leavening agents.
- Gradually add the dry ingredients to the wet mixture, mixing on low speed or folding gently until just combined. The dough will be soft but manageable.
- Divide the dough into two equal parts, shape each into a flat disc, wrap in plastic wrap, and chill in the refrigerator for about 30 minutes to relax the gluten and firm up the dough.
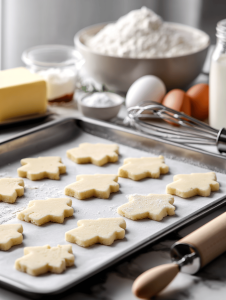
- Remove one dough disc from the fridge and place it on a floured surface. Use a rolling pin to roll out the dough to about ¼ inch thickness, keeping it even.
- Cut out haunted house shapes or spooky figures using cookie cutters or a sharp knife, then transfer them carefully onto the prepared baking sheet.
- Bake the cookies in the preheated oven for 10-12 minutes, or until the edges turn a light golden brown and the cookies are set.
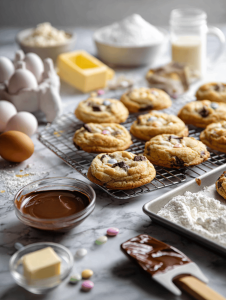
- Once baked, transfer the cookies to a cooling rack and let them cool completely for about 10 minutes, which helps prevent smudging decorations later.
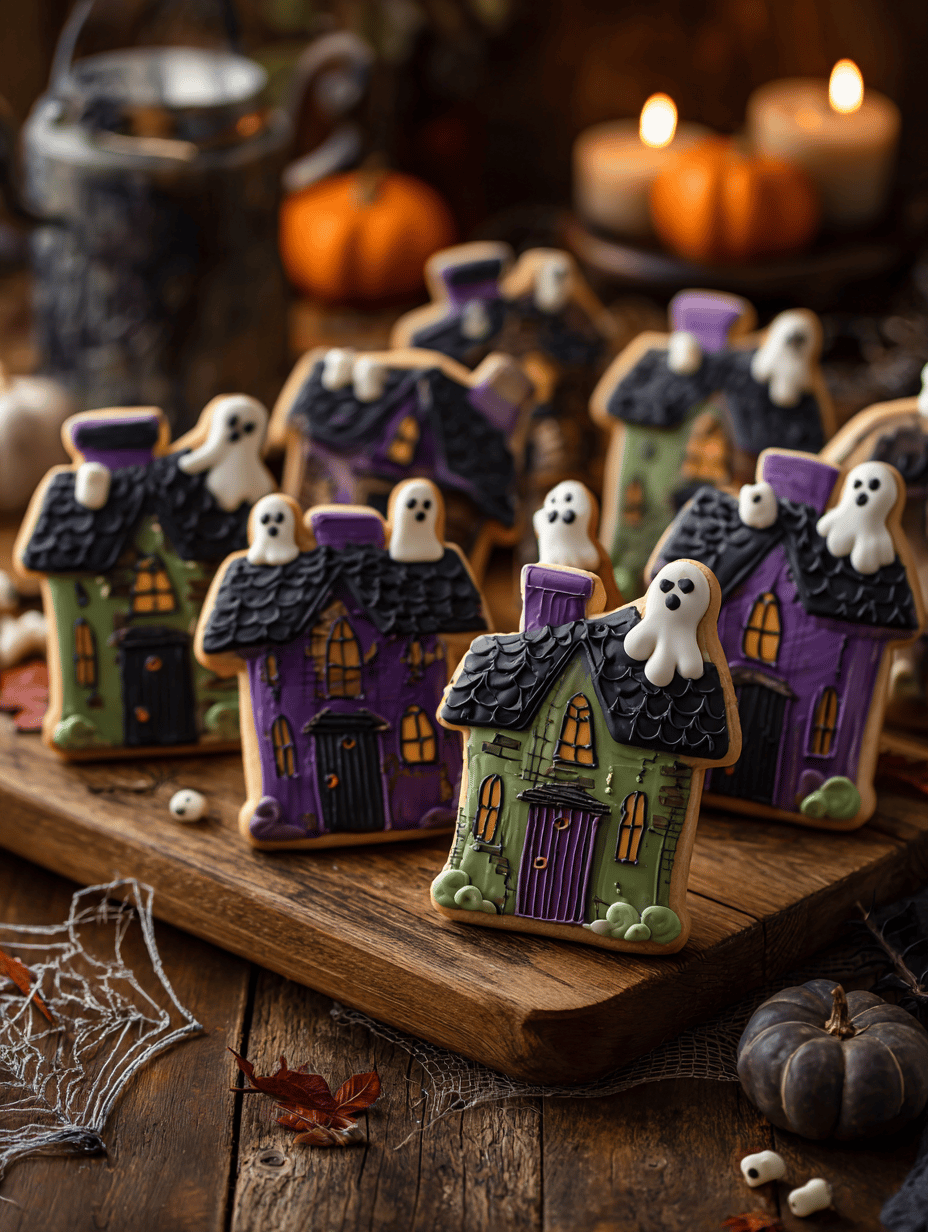
- Decorate the cooled cookies with icing, candies, or melted chocolate to create spooky windows, ghosts, or creepy trees, adding your personal spooky touch.
- Allow the decorations to set for about 30 minutes so they don't smudge or slide off. Then enjoy your playful, spooky haunted house cookies!
Notes
For best results, keep decorations simple and let the cookies cool completely before decorating. Feel free to get creative with your spooky details!