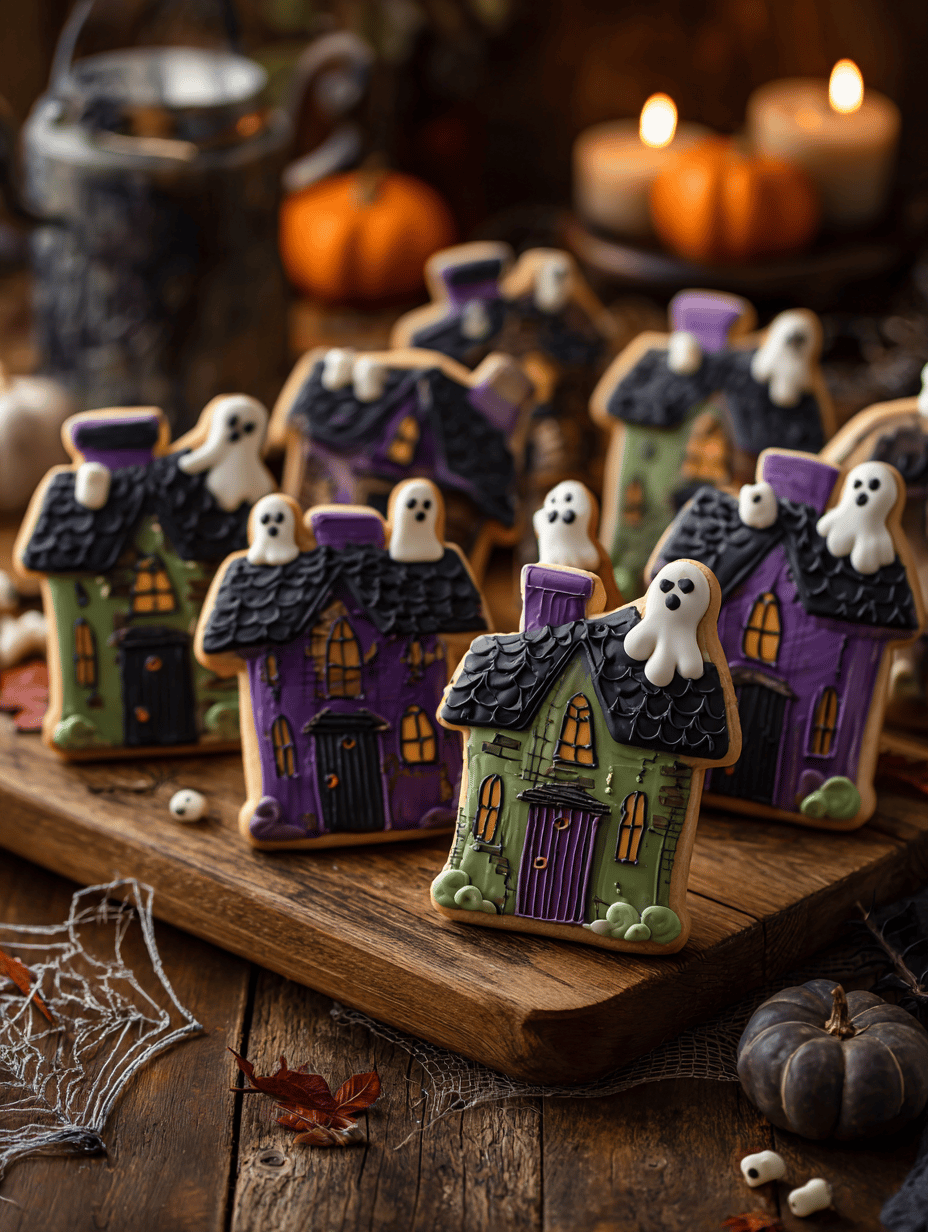
I’ve always loved the contrast of crispy edges and chewy centers in cookies. But these haunted house cookies? They turn that love into a playful, spooky experience. They’re perfect for Halloween, or any night you want to turn a simple treat into a little bit of magic.
Why I Keep Baking Haunted House Cookies
They’re messy, chaotic, and imperfect—just like Halloween itself. Each batch feels like a little adventure, a chance to get creative with spooky decorations. Plus, nothing beats the sight of kids’ faces lighting up at the sight of their haunted houses.
Haunted House Cookie Ingredients & Their Secrets
- Butter: Gives cookies their richness and crisp edges. Swap with margarine if needed.
- Sugar: Sweetens and helps with spreading. Brown sugar adds a caramel note.
- Eggs: Bind everything together. For a vegan version, try applesauce or flaxseed.
- Flour: The base structure. Bread flour will give a chewier texture.
- Vanilla extract: Adds depth and warmth. Lemon or almond extract can be fun substitutes.
- Decorations (icing, candies): Bring your haunted house to life with spooky details.
Tools of the Spooky Trade
- Rolling pin: To flatten the dough evenly.
- Cookie cutters or sharp knife: To shape your haunted houses and spooky figures.
- Baking sheet: To hold the cookies during baking.
- Parchment paper: To prevent sticking and make cleanup easier.
- Cooling rack: To cool cookies evenly and prevent sogginess.
Step-by-Step to Spooky Sweetness
Step 1: Preheat your oven to 180°C (350°F).
Step 2: Line a baking sheet with parchment paper.
Step 3: In a large bowl, cream together 1 cup of softened butter and 1 cup of sugar for about 2 minutes until fluffy.
Step 4: Add 1 egg and 1 teaspoon vanilla extract. Mix until combined.
Step 5: In a separate bowl, whisk together 2 ½ cups of all-purpose flour, ½ teaspoon baking soda, and ¼ teaspoon salt.
Step 6: Gradually add dry ingredients to the wet mixture, stirring until just combined.
Step 7: Divide dough into two balls. Wrap in plastic and chill for 30 minutes.
Step 8: On a floured surface, roll out one dough ball to about ¼ inch thick.
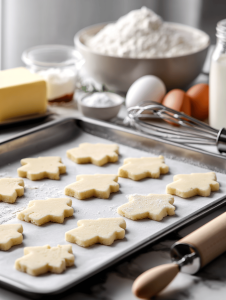
Step 9: Cut into spooky shapes with cookie cutters or freehand with a knife.
Step 10: Place on prepared baking sheet and bake for 10-12 minutes, until edges are golden.
Step 11: Let cookies cool on a rack for 10 minutes before decorating.
Step 12: Decorate with icing, candies, or melted chocolate to create haunted house windows, ghosts, or creepy trees.
How to Keep Your Haunted Cookies Perfect
- Cookies should be pale golden around the edges, not dark or burnt.
- The dough should be firm but pliable, not sticky or crumbly.
- Decorations should set within 30 minutes to avoid smudging or melting.
Common Haunted House Cookie Mistakes & How to Fix Them
- Dough cracks when rolling out.? Use too much flour? Add a teaspoon of milk to loosen the dough.
- Edges burnt or dark.? Cookies spread too much? Chill the dough 15 minutes longer.
- Decorations melting or bleeding.? Bake at 160°C (320°F) for 2 minutes less.
- Cookies sticking to the baking sheet.? Use less icing or let cookies cool completely before decorating.
Haunted House Cookies
Ingredients
Equipment
Method
- Preheat your oven to 180°C (350°F) and line a baking sheet with parchment paper.
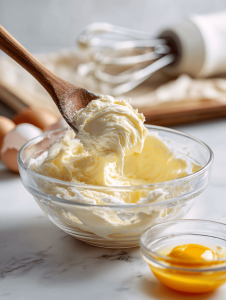
- In a large mixing bowl, beat the softened butter and sugar together using a hand or stand mixer until the mixture is light, fluffy, and fragrant, about 2 minutes.

- Add the egg and vanilla extract to the wet mixture and beat until well combined, ensuring the mixture is smooth and slightly glossy.
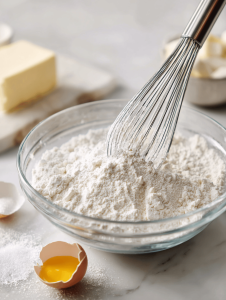
- In a separate bowl, whisk together the flour, baking soda, and salt to evenly distribute the leavening agents.
- Gradually add the dry ingredients to the wet mixture, mixing on low speed or folding gently until just combined. The dough will be soft but manageable.
- Divide the dough into two equal parts, shape each into a flat disc, wrap in plastic wrap, and chill in the refrigerator for about 30 minutes to relax the gluten and firm up the dough.
- Remove one dough disc from the fridge and place it on a floured surface. Use a rolling pin to roll out the dough to about ¼ inch thickness, keeping it even.
- Cut out haunted house shapes or spooky figures using cookie cutters or a sharp knife, then transfer them carefully onto the prepared baking sheet.
- Bake the cookies in the preheated oven for 10-12 minutes, or until the edges turn a light golden brown and the cookies are set.
- Once baked, transfer the cookies to a cooling rack and let them cool completely for about 10 minutes, which helps prevent smudging decorations later.
- Decorate the cooled cookies with icing, candies, or melted chocolate to create spooky windows, ghosts, or creepy trees, adding your personal spooky touch.
- Allow the decorations to set for about 30 minutes so they don't smudge or slide off. Then enjoy your playful, spooky haunted house cookies!
Notes

Hi, I’m Grace Morgan, and welcome to my kitchen. This is a space shaped by family meals, curious hands reaching for snacks, paws under the table, and recipes that come together in the middle of real life. I’m a food blogger, a mother, and a passionate pet keeper. Most days, I’m cooking with one eye on the stove and the other on someone who needs me, whether that’s a child asking for a taste or a dog hoping something might fall.


