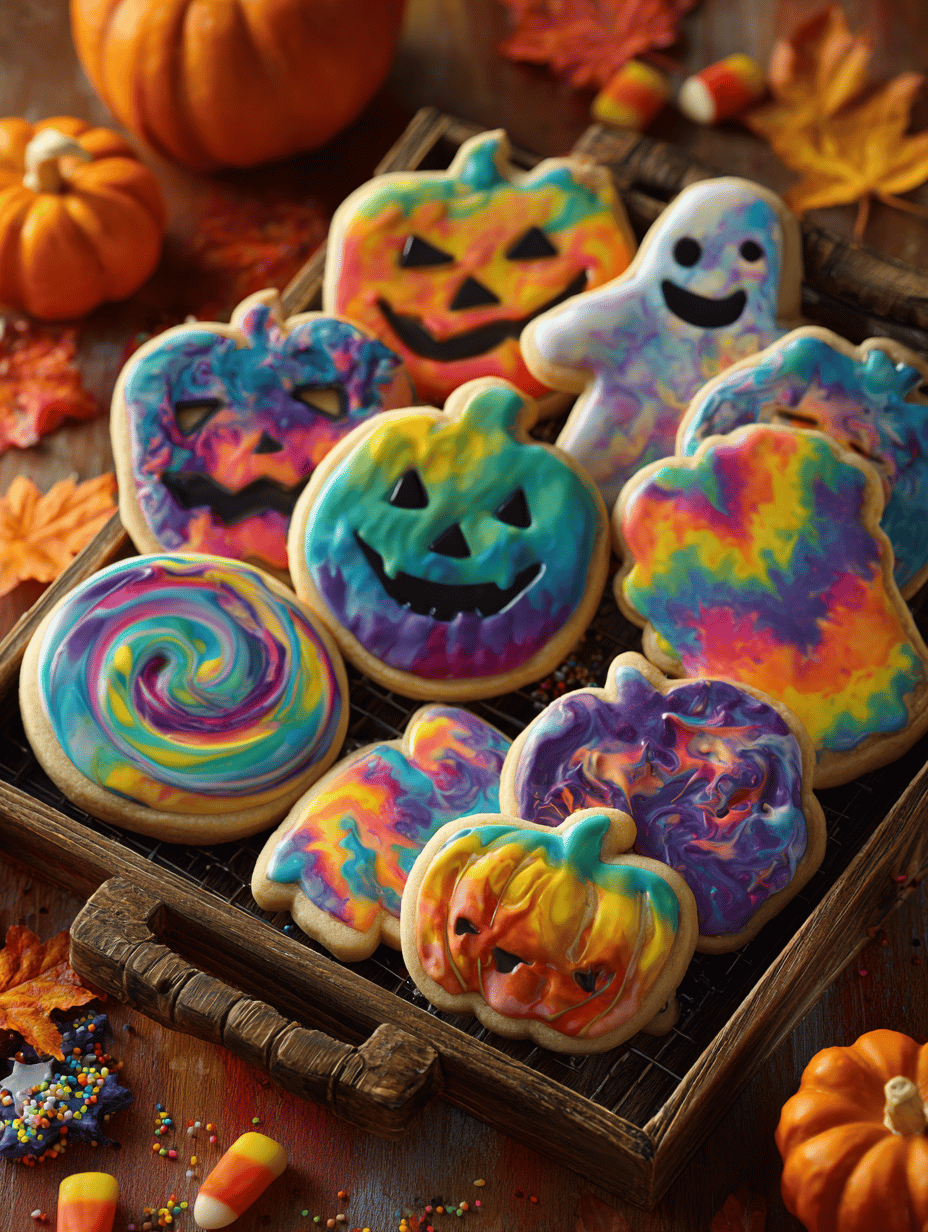
Halloween sugar cookies are more than just a seasonal treat—they’re a chance to embrace your inner kid and unleash some creativity. I love the chaos of mixing colors and shapes, turning simple ingredients into playful art. Plus, baking these with a little twist makes the tradition feel fresh, even if you’ve made them a dozen times before.
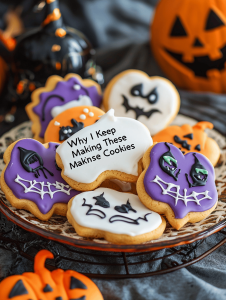
Why I Keep Making These Cookies
They’re a blank canvas for my creativity, and I love seeing how each batch turns out differently. Plus, baking with kids or friends transforms the kitchen into a lively workshop. The crispy edges and chewy centers are endlessly satisfying, especially when decorated with a flicker of imagination.
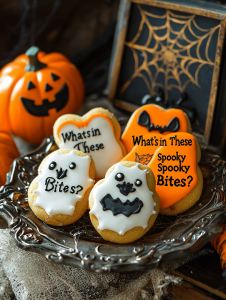
What’s in These Spooky Bites?
- Butter: Rich and creamy, I use unsalted for control, but salted works if you like a savory hint.
- Sugar: Granulated sugar adds sweetness; brown sugar gives a deeper, caramel flavor.
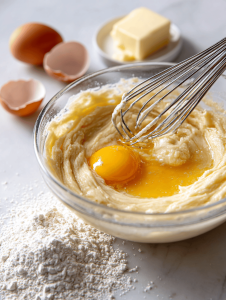
- Eggs: Bind everything together, keep the dough cohesive.
- Vanilla Extract: A splash brightens the dough, makes flavors pop.
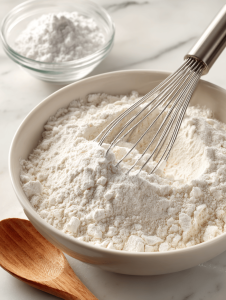
- Flour: All-purpose, but pastry flour gives a tender crumb.
- Baking Soda: Leavening that helps cookies rise just a bit.
- Food Coloring & Icing: Vivid, fun, brings the cookies to life for Halloween.
Tools of the Trade for Spooky Sweetness
- Rolling Pin: To flatten dough evenly for uniform cookies.
- Halloween Cookie Cutters: To shape dough into spooky, fun forms.
- Baking Sheets: To hold cookies during baking for even heat distribution.
- Cooling Racks: To cool cookies and prevent sogginess.
- Decorating Brushes: For applying icing or edible paints.
Crafting the Perfect Halloween Sugar Cookies
Step 1: Preheat your oven to 180°C (350°F).
Step 2: Mix butter, sugar, and a pinch of salt until creamy and pale.
Step 3: Add egg and vanilla; stir until smooth.
Step 4: Gradually add flour and baking soda, mixing just until combined.
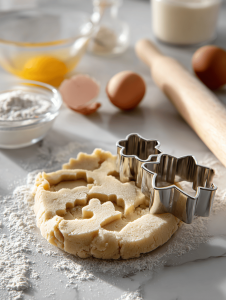
Step 5: Roll out dough on floured surface to about 0.5 cm thick.
Step 6: Cut into fun Halloween shapes with cookie cutters.
Step 7: Bake on lined baking sheets for 8-10 minutes, until edges are golden.
Step 8: Let cookies cool on racks before decorating.
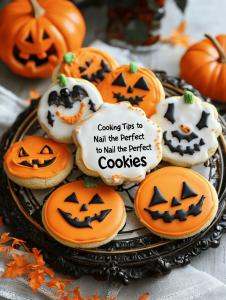
Cooking Tips to Nail the Perfect Cookies
- Cookies should be golden around the edges but soft in the center.
- Dough should be firm enough to roll without sticking.
- If cookies spread too much, chill the dough for 15 minutes before baking.
- Decorate once cookies are completely cooled to prevent smudging.
Avoid These Common Cookie Crashes
- Overbaking makes cookies tough and crumbly.? IF COOKIES ARE TOO HARD, reduce baking time or lower oven temperature slightly.
- Uneven baking.? IF EDGES ARE DARK BUT CENTERS ARE UNDERDONE, rotate sheets halfway through baking.
- Dough too warm or greasy.? IF COOKIE SPREADS TOO MUCH, chill dough for 15 minutes before baking.
- Decorating on warm cookies.? IF DECORATION SMUDGES, wait until cookies are fully cooled.
Halloween Sugar Cookies
Ingredients
Equipment
Method
- Preheat your oven to 180°C (350°F) and line baking sheets with parchment paper.
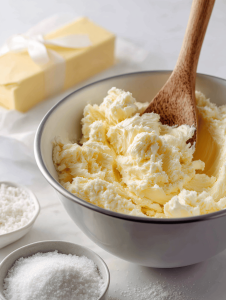
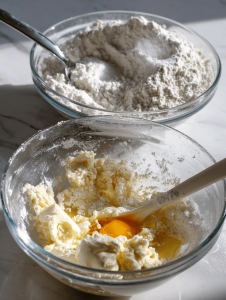
- In a large mixing bowl, combine softened butter and granulated sugar. Beat with a hand or stand mixer until the mixture is light, fluffy, and pale, filling your kitchen with a sweet, creamy aroma.
- Add the egg and vanilla extract to the butter mixture. Mix until well incorporated and smooth, with a slight sheen.
- Gradually add the sifted flour and baking soda to the wet ingredients. Mix on low speed until just combined; the dough should come together and be soft but manageable.
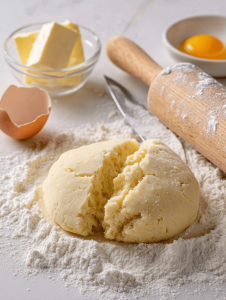
- Lightly flour your work surface and roll out the dough to about 0.5 cm thickness. Keep the dough cool and firm for easier handling.
- Use Halloween-shaped cookie cutters to cut out fun shapes from the dough. Gather the scraps, re-roll, and cut until all dough is used.

- Transfer the cut-out cookies to the prepared baking sheets, spacing them evenly to allow for expansion.
- Bake the cookies in the preheated oven for 8-10 minutes, or until the edges turn a light golden brown and the cookies feel firm to the touch.

- Remove the cookies from the oven and let them cool on the baking sheet for a few minutes before transferring to cooling racks. Allow them to cool completely.
- Once cooled, decorate the cookies with vibrant icing, edible paints, or other fun toppings to bring your spooky creations to life.
- Enjoy your colorful, crispy-edged, chewy-centered Halloween sugar cookies with friends and family for a festive treat.

Hi, I’m Grace Morgan, and welcome to my kitchen. This is a space shaped by family meals, curious hands reaching for snacks, paws under the table, and recipes that come together in the middle of real life. I’m a food blogger, a mother, and a passionate pet keeper. Most days, I’m cooking with one eye on the stove and the other on someone who needs me, whether that’s a child asking for a taste or a dog hoping something might fall.


