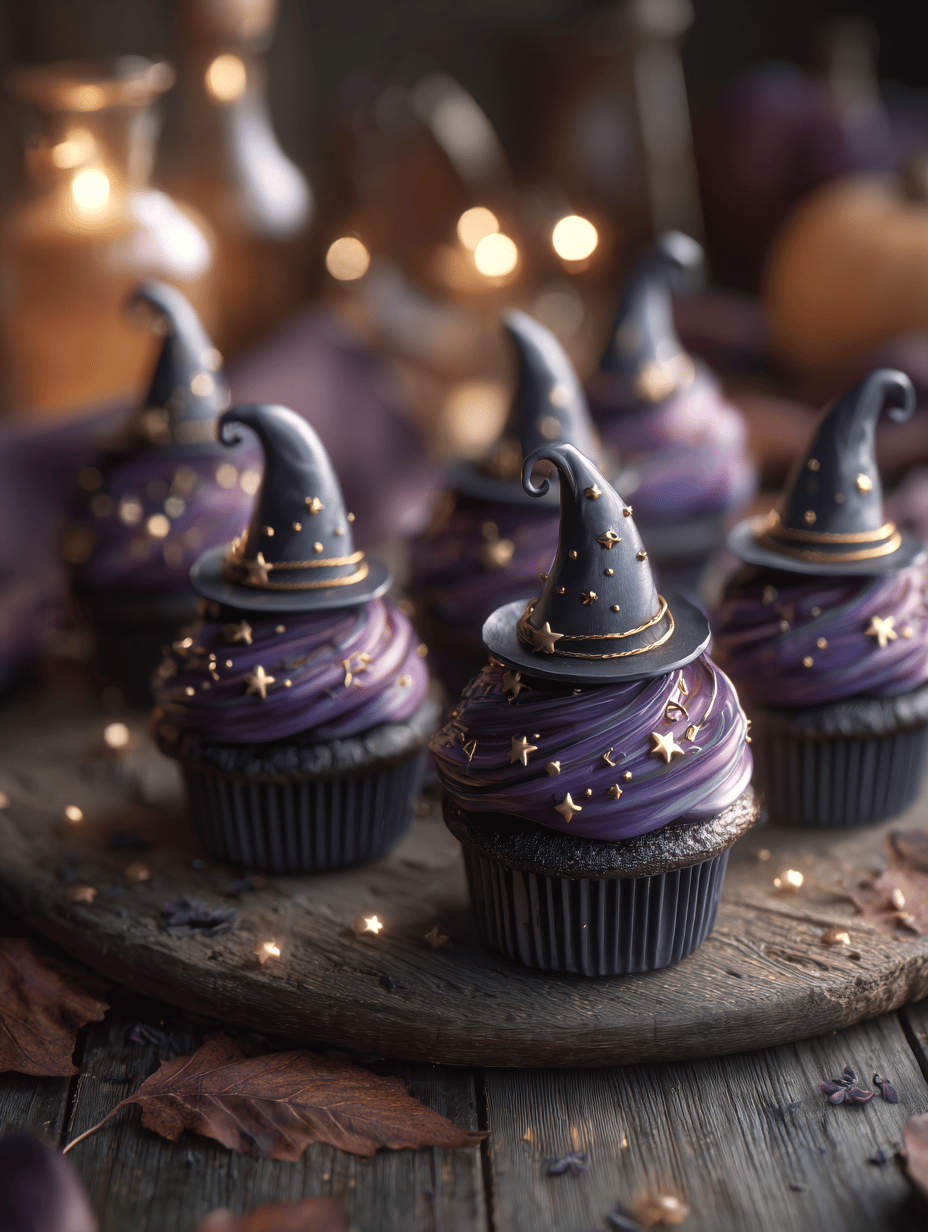
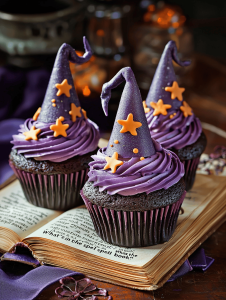
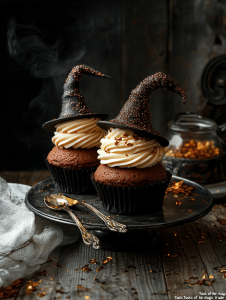
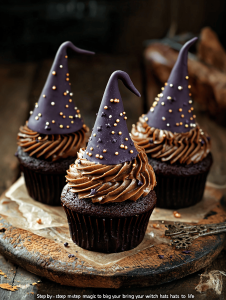
There’s something endlessly charming about dressing up baked goods. These witch hat cupcakes aren’t just sweet treats—they’re tiny costumes, ready to cast a spell at your next party. I love how they combine the joy of baking with a dash of creativity and a pinch of nostalgia.
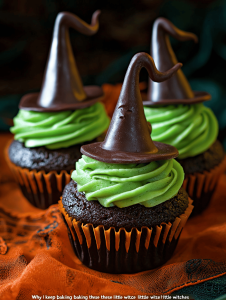
Why I keep baking these little witches
They remind me of childhood Halloweens, full of mischief and magic. The process is forgiving enough for my rushed mornings but still yields impressive results. Seeing others’ faces light up when they see these tiny hats is always a sweet reward. Plus, they let me play with decorating—no rules, just fun.
What’s in the spell book?
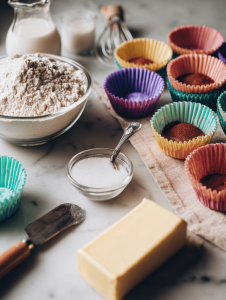
- All-purpose flour: The backbone of your cupcakes, gives structure and rise.
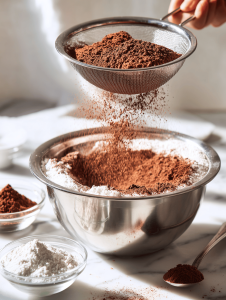
- Cocoa powder: Adds rich chocolate depth, smell of roasted cocoa fills the kitchen.
- Butter: Creamy and rich, makes frosting smooth and flavorful.
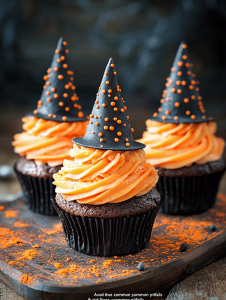
- Black food coloring: For that dark, mysterious hue in your frosting—use sparingly.
- Chocolate cookies or waffle cones: Crunchy, slightly sweet, perfect for the hat’s brim and point.
- Vanilla extract: A touch of warmth and aroma in both cake and frosting.
- Powdered sugar: Sweetens and thickens the frosting, gives that velvety finish.
Tools of the magic trade
- Muffin tin & paper liners: To shape and bake the cupcakes evenly.
- Mixing bowls: For blending batter and frosting.
- Electric mixer or whisk: To get fluffy frosting and well-mixed batter.
- Piping bag & tips: For decorating the cupcakes smoothly.
- Chocolate cookies or waffle cones: To craft the witch hats’ brims and peaks.
Step-by-step magic to bring your witch hats to life
Step 1: Preheat your oven to 180°C (350°F).
Step 2: Line a muffin tin with paper liners.
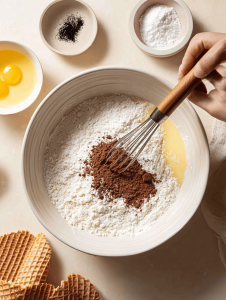
Step 3: Make your cupcake batter: mix flour, sugar, cocoa, baking powder, and salt.
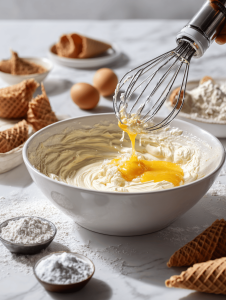
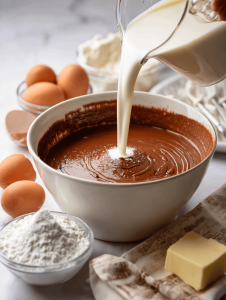
Step 4: In a separate bowl, beat eggs with milk, oil, and vanilla.
Step 5: Combine wet and dry ingredients until just blended.
Step 6: Fill cupcake liners about 2/3 full.
Step 7: Bake for 18-20 minutes or until a toothpick comes out clean.
Step 8: Let cupcakes cool in the tin for 5 minutes, then transfer to a wire rack.
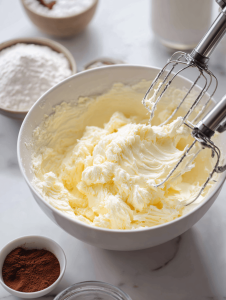
Step 9: Prepare your frosting: beat butter, powdered sugar, and vanilla until fluffy.
Step 10: Color the frosting with a touch of black food coloring for a moody vibe.
Step 11: Frost the cooled cupcakes generously.
Step 12: Use chocolate cookies or waffle cones to create the hat’s brim and point.
Step 13: Assemble the hats: place the cone on top of the cupcake, secure with frosting.
Step 14: Add edible decorations like sprinkles or tiny candies for extra charm.
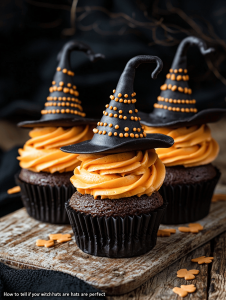
How to tell if your witch hats are perfect
- Cupcakes are evenly risen and golden around the edges.
- Toothpick inserted in the center comes out clean.
- Frosting is smooth, not melting or sliding off.
- The cone stands firm without wobbling when placed on top.
Avoid these common pitfalls
- Batter is lumpy or uneven.? Use room temperature ingredients for smoother blending.
- The cone wobbles or slides off.? Chill the cone slightly before placing on cupcake.
- Frosting tastes flat or overly sweet.? Add a tiny pinch of salt to frosting for depth.
- Cupcakes are gooey or underdone.? Bake cupcakes until a toothpick comes out clean.
Witch Hat Cupcakes
Ingredients
Equipment
Method
- Preheat your oven to 180°C (350°F) and line a muffin tin with paper liners.
- In a large bowl, sift together the flour, cocoa powder, baking powder, salt, and sugar to combine evenly.
- In a separate bowl, beat the eggs, milk, oil, and vanilla extract until well blended and slightly frothy.
- Pour the wet mixture into the dry ingredients and gently fold until just combined, avoiding overmixing.
- Divide the batter evenly among the cupcake liners, filling each about two-thirds full.
- Bake for 18-20 minutes, or until a toothpick inserted into the center comes out clean. Let the cupcakes cool in the tin for 5 minutes, then transfer to a wire rack to cool completely.
- In a mixing bowl, beat the softened butter until creamy, then gradually add sifted powdered sugar, one cup at a time, until the mixture is fluffy. Mix in vanilla extract.
- Add a few drops of black food coloring to the frosting and mix until the color is evenly distributed and the frosting is dark enough.
- Frost the cooled cupcakes generously with the black frosting using a piping bag for a smooth finish.
- Break the chocolate cookies or waffle cones into small pieces to form the brim and point of the witch hats.
- Place a cone or cookie piece on top of each frosted cupcake, securing with a dab of frosting at the base.
- Decorate with additional sprinkles or tiny candies if desired, then serve and enjoy your charming witch hat cupcakes!
Notes

Hi, I’m Grace Morgan, and welcome to my kitchen. This is a space shaped by family meals, curious hands reaching for snacks, paws under the table, and recipes that come together in the middle of real life. I’m a food blogger, a mother, and a passionate pet keeper. Most days, I’m cooking with one eye on the stove and the other on someone who needs me, whether that’s a child asking for a taste or a dog hoping something might fall.


