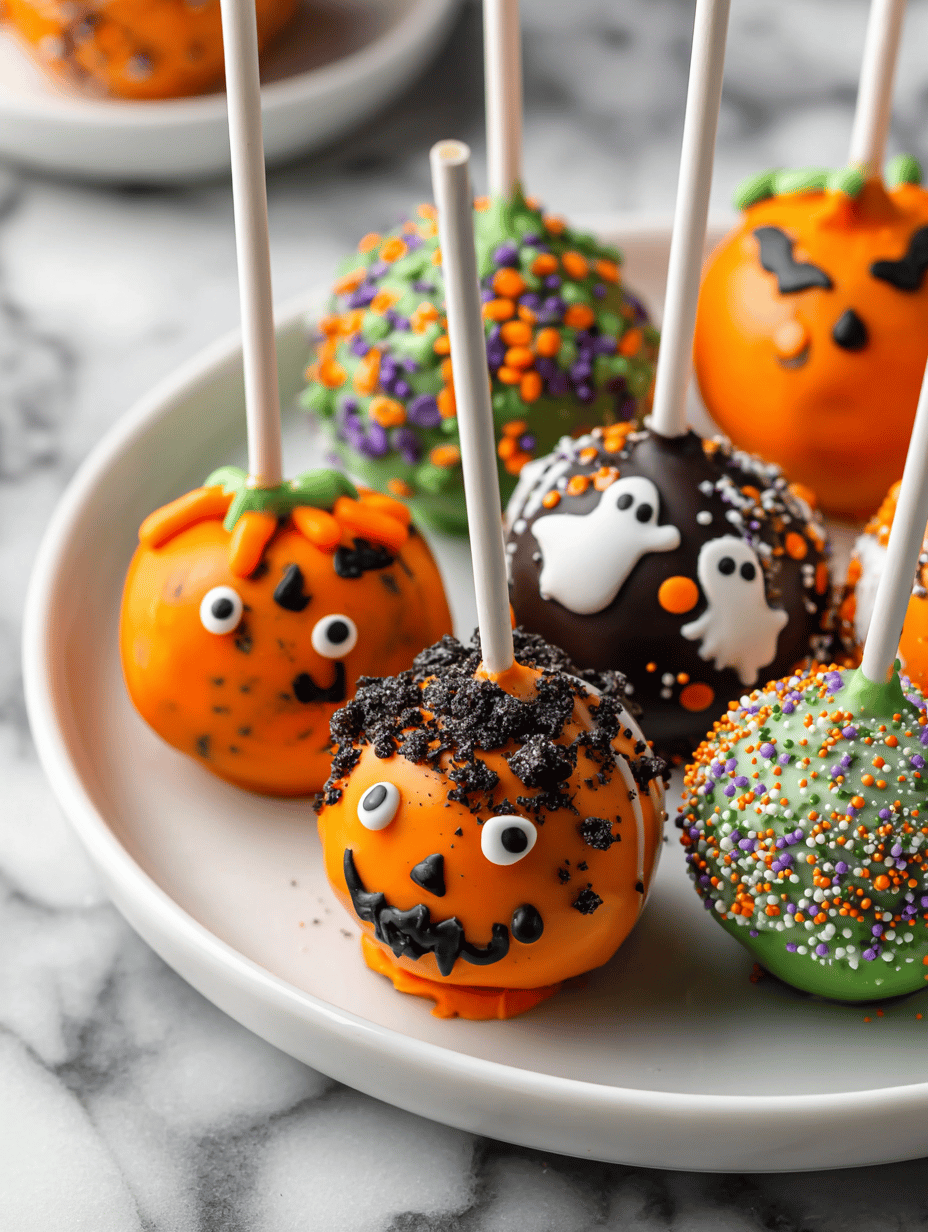
Cake pops are a staple for any celebration, but Halloween makes them feel extra special. It’s the perfect blend of sweet, spooky, and fun—an edible craft project that’s almost as satisfying as eating it. Plus, they’re versatile—turn them into tiny monsters, ghosts, or witches with just a few tweaks.
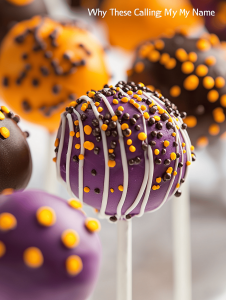
Why These Cake Pops Keep Calling My Name
They’re unpredictable—every batch has its own personality. There’s chaos in the melting chocolate, pride in the tiny faces, and relief when everything turns out adorable. Plus, they’re a no-fuss way to bring a little joy and spooky charm to any gathering, especially in October. No matter how many times I make them, each one feels like a small, delicious victory.
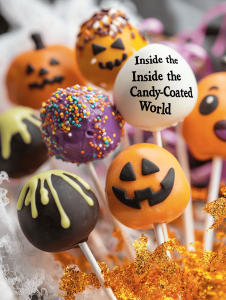
Inside the Candy-Coated World
- Cake (store-bought or homemade): The base that’s soft, moist, and perfect for crumbling into tiny bits.
- Cream cheese or buttercream: Adds richness and helps bind the crumbs without making the mixture greasy.
- Chocolate melts or candy coating: Gives that glossy, firm shell—smooth, sweet, and a little nostalgic.
- Lollipop sticks or skewers: Hold your pops steady while you dip and decorate.
- Food coloring and decorating gels: Turn your pops into ghosts, pumpkins, or monsters—whatever screams Halloween.
- Sprinkles, edible glitter, or candy eyes: Finish with fun, spooky details that make each pop unique.
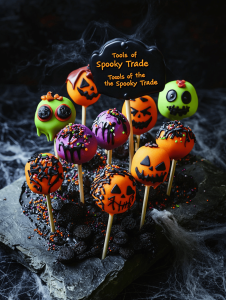
Tools of the Spooky Trade
- Baking sheet with parchment paper: To lay out the cake balls for chilling and setting.
- Candy or chocolate melts: To coat and decorate the cake pops with a smooth, glossy finish.
- Lollipop sticks or skewers: To hold the cake pops and make dipping easier.
- Small bowls for melting chocolate: To melt and hold coating for easy dipping.
- Decorating tools or toothpicks: For adding spooky details and finishing touches.
Crafting Your Creepy-Cute Cake Pops
Step 1: Start by gathering all your ingredients and tools. Preheat your oven to 180°C (350°F).
Step 2: Bake your cake as usual, then let it cool completely. Crumble it into fine crumbs in a large bowl.
Step 3: Mix in a generous spoonful of cream cheese or buttercream to bind the crumbs without making the mixture sticky.
Step 4: Shape the mixture into small, even balls—about the size of a walnut—and chill them in the fridge for at least 30 minutes.
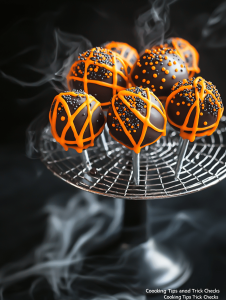
Cooking Tips and Trick Checks
- Ensure the cake crumbs are moist but not sticky; if too dry, add a splash of milk.
- When dipping in chocolate, lift and rotate slowly to avoid cracks.
- If the chocolate cools too quickly, add a little vegetable oil to loosen it.
- Watch for the coating to set; if it’s sticky, chill the pops again before decorating.
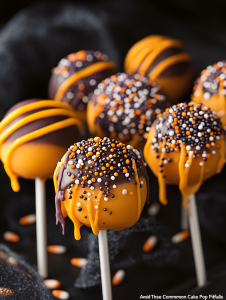
Avoid These Common Cake Pop Pitfalls
- Thick, lumpy chocolate coating.? DUMPED too much chocolate; add a little vegetable oil to loosen coating.
- Cake balls falling off sticks while dipping.? FORGOT to chill the cake balls; pop them back in the fridge for 15 minutes.
- Chocolate burned and smoky.? OVER-TORCHED the chocolate; lower heat or switch to microwave in short bursts.
- Bare, unadorned cake pops.? NOT enough decorating; keep extra chocolate and supplies handy.
Halloween Cake Pops
Ingredients
Equipment
Method
- Preheat your oven to 180°C (350°F). Bake your cake until golden and cooked through, then let it cool completely on a wire rack.
- Use your hands or a fork to crumble the cooled cake into fine crumbs in a large mixing bowl. The mixture should resemble moist, uniform soil.
- Add the softened cream cheese or buttercream to the crumbs and mix thoroughly until the mixture is cohesive and easy to shape.
- Using your hands, shape the mixture into small balls about the size of a walnut. Place each ball on a baking sheet lined with parchment paper.
- Insert a lollipop stick or skewer into each cake ball, then chill them in the refrigerator for at least 30 minutes to firm up.
- While they chill, melt the chocolate in small bowls over low heat or in short bursts in the microwave, stirring until smooth and glossy.
- Once chilled, dip each cake pop into the melted chocolate, rotating gently to coat evenly. Tap off excess chocolate and return to the parchment-lined sheet.
- Decorate the coated cake pops with sprinkles, edible glitter, or candy eyes while the coating is still wet for a festive look.
- Allow the chocolate coating to set completely at room temperature or in the fridge for quicker drying.
- Enjoy your spooky, adorable Halloween cake pops, perfect for any celebration or party!

Hi, I’m Grace Morgan, and welcome to my kitchen. This is a space shaped by family meals, curious hands reaching for snacks, paws under the table, and recipes that come together in the middle of real life. I’m a food blogger, a mother, and a passionate pet keeper. Most days, I’m cooking with one eye on the stove and the other on someone who needs me, whether that’s a child asking for a taste or a dog hoping something might fall.


